For the first time ever, I’m finally in possession of a MacBook Pro that’s not only powerful enough to properly edit photos and video, but also has enough storage space for my entire Lightroom catalogue and all originals. And now that I’ve consolidated the contents of various external drives onto my shiny new 4 TB encrypted internal disk, I’m left with the question of how to back this lot up, simply and with confidence.
Backup Options
Time Machine
Of course I’m using this; it’s built-in, proven, and runs quietly in the background, sending changed files to my NAS every 20 minutes or so. I also send a weekly Time Machine backup to an external drive which lives off-site, just in case of a real disaster. But while Time Machine is as great at restoring individual files and folders as it is at restoring an entire machine, the .backupbundle containers it creates are something of a closed book to me, and I have to trust Apple that they’re doing their job. And, although you can exclude specific files and folders, it’s really aimed at backing up your whole system instead of individual areas, such as a Lightroom catalogue and master files.
Having used Time Machine for many years I now realise I want something more for my Lightroom investment, and drew up these criteria for an additional backup solution:
- Must be able to copy a local folder to a removable drive, with the destination being as easily accessible / navigable as the source.
- I don’t want to copy the whole collection each time, just the files that were changed since the last backup.
- I want the option of deleting files on the destination if they were deleted locally. This one took some internal debate – by backing up my catalogue and masters do I also want to guard against accidental deletion, either via Lightroom or at file level? Or do I trust myself to keep the local filesystem in good shape and don’t want culled photos building up ad infinitum? I’m still not 100% sure either way, but I’d like the option.
- I want a timestamped, plain text log each time the backup runs, so that I can see (and search for) what was added, deleted, updated.
- I want to be able to use or restore the backup without relying on external software, thereby adding no future dependencies into my workflow.
Third Party Apps
There’s a ton of backup solutions in the App Store, even if you just want the ability to synchronise two folder pairs. Sync Folders looked like a good bet, as did Compare & Sync Folders and OneWaySync, but the deeper I dug the more I suspected that there would be a learning curve, compromise, and ultimately a dependency on something that may or may not be maintained by the developer. There had to be a better way.
Built-in Tools
One of my personal golden rules is to never install any software unless I absolutely have to, and synchronising two folders didn’t exactly sound like rocket science, so I started looking at suitable Terminal commands. And that’s how I rediscovered rsync. I’ve used Terminal on and off for many years and knew rsync existed, but with so many options and parameters I’d subconsciously thrown it on the pile of things I’d never master because they’re complicated and I don’t use them often enough, like sed and awk. Well, this Techradar article convinced me otherwise, and inspired me to roll my own Lightroom backup solution.
The Beauty of rsync
The terminal command rsync is actually super simple to use, and can be wrapped in an Automator task so you can run it as an application or a service. The most basic syntax is:
rsync --option(s) source destination
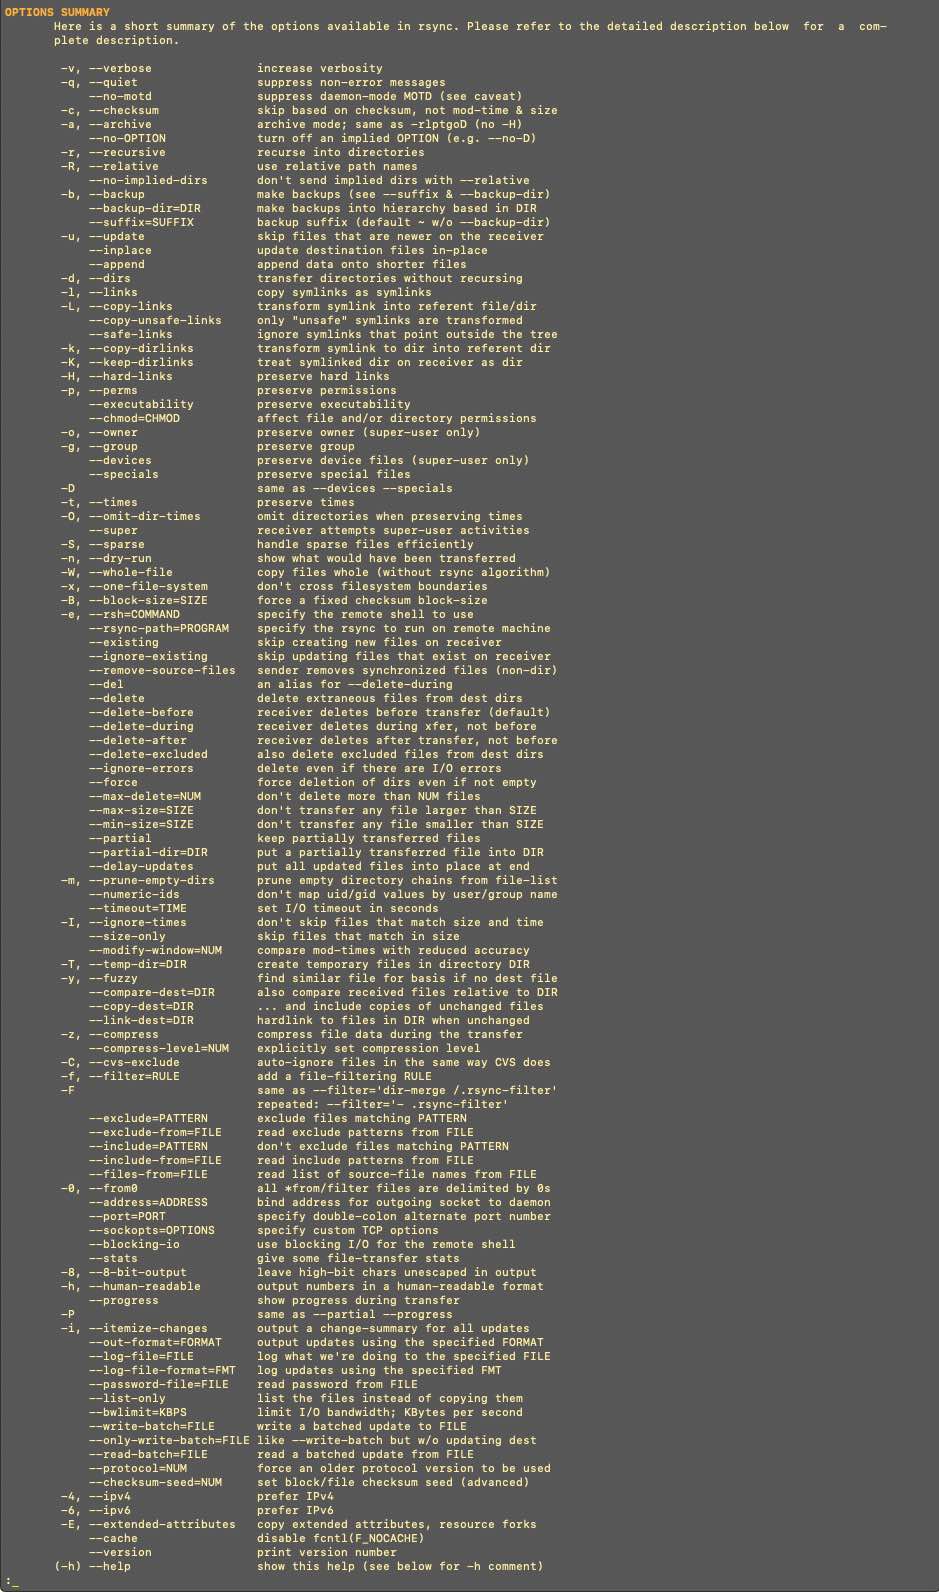
You can think of rsync as a version of cp (copy) on steroids, because source / destination can be files or folders on local drives or even remote machines, and the options available let you specify exactly how assets are copied, moved, or synchronised. I settled on this syntax for my external backup: (line breaks \ added for clarity)
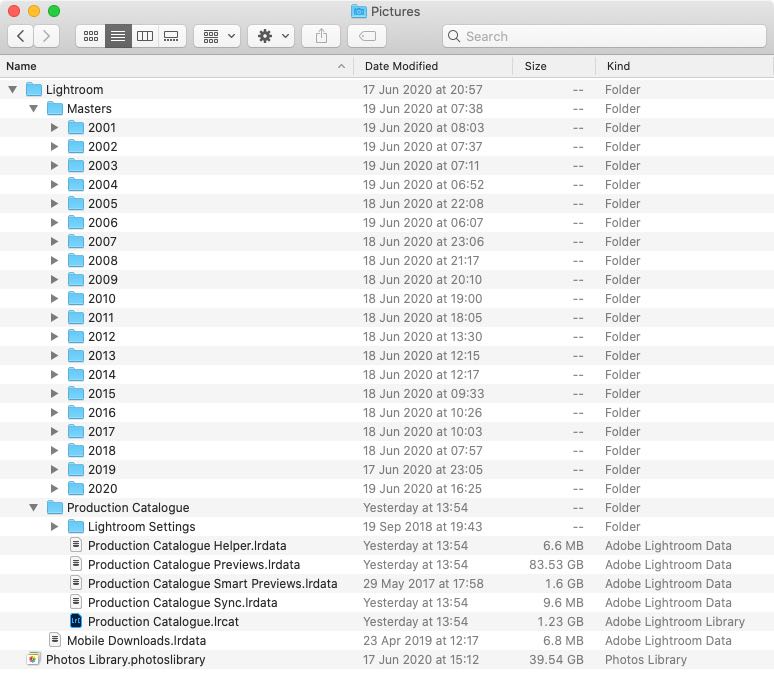
rsync -avh --delete --exclude ".DS_Store"\
  /Users/bob/Pictures/Lightroom/ \
  /Volumes/Backup/Lightroom \
  >> ~/Desktop/LR-backup-"$(date +%Y%m%d-%H%M%S).nosync.log"
The -avh options tell rsync that I want to archive (preserve dates / times, copy symbolic links, recurse into directories, preserve permissions, etc), print verbose output while running, and use human-readable units instead of bytes when summarising at the end. --delete denotes that any files which exist in destination /Volumes/Backup/Lightroom but are not found in source /Users/bob/Pictures/Lightroom/ should be deleted, so obviously use this with caution and always back up to a dedicated subfolder on your target disk, never to the root. --exclude ".DS_Store" tells the command that I want to skip some of the files that Finder created in order to store window preferences.
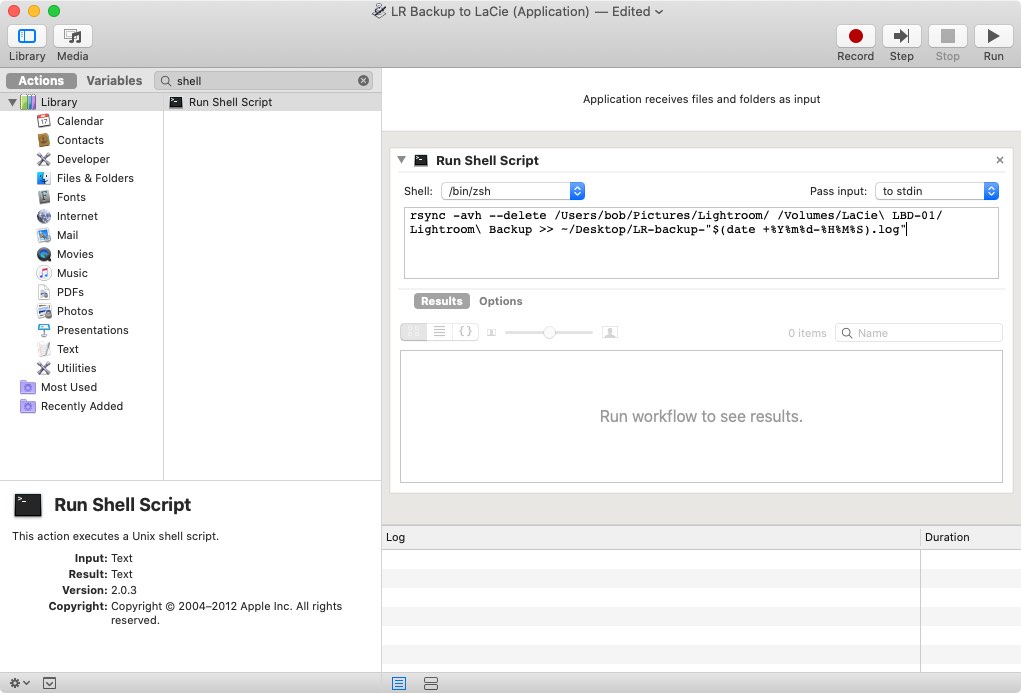
As a finishing touch, >> ~/Desktop/LR-backup-"$(date +%Y%m%d-%H%M%S).nosync.log appends the verbose output that I requested with the v option to a file on my desktop, which I can double-click to open it with the Console utility if I want to check on progress. The file’s name reflects the date and time that I started that particular backup and including .nosync in the extension means it doesn’t get uploaded to iCloud each time it changes, which is a pointless way of eating at your bandwidth when running a really long backup. (thought of this after grabbing the images on this page, too lazy to redo)
Once I had perfected this command I could have saved it in Notepad or Evernote, but I really wanted a one-click way of running it without going to the Terminal each time, so I created a very simple Automator application.
Made for Lightroom
Why is this such a good fit for a Lightroom collection? Because after the initial sync it will only update files which have been added, changed, or deleted, which means you have a 100% complete, useable copy of your catalogue on that backup disk as soon as your latest backup has finished. Plus you get a full audit trail via those log files, and don’t have to rely on any external software.
Oh yeah – and because it’s free. Which is nice when you’re already paying for Adobe software. 🙂